Friday, January 17, 2014

First Birthday Cupcake Toppers

I think parties are fun. Who doesn't? Party pooper... In college we threw some fun parties, like a fish themed birthday party for our goldfish. Yes, our goldfish actually made it to his birthday. He was a trooper of a fish. Seriously. It was a sad day when he died. We had a funeral.

But I digress...

I really don't go all out for parties. I'm not a big party planner. I think themed parties are fun. But they can get expensive! It adds up quick. But, I feel like when it's your very first birthday you deserve a little something special. Even if it's just a few streamers, a pile of balloons, a special birthday shirt, and a fancy topper on your cupcake.

After screen printing Keira's birthday shirt, I used the same design to make some cupcake toppers. I changed the wording from I'M #1 to KEIRA IS #1.


 I Love them. That's right, with a capital L. I made a birthday poster for my little girl and even put one on there too.


Want to make some? I made a file with five different colors, purple, orange, green, blue, and red. I took off the name, so they just say #1. I assume most anyone else wanting to use them won't be throwing a party for a little girl named Keira. Keira isn't that popular of a name. :)


Print the file out on cardstock, cut the fingers out, and tape a toothpick to the back. That's it!

Click on the image to download the file, or follow this link.

Thursday, January 16, 2014

DIY Screen Printing: Nylons, an Embroidery Hoop and Mod Podge

For a few years now I have wanted to try my hand at screen printing. I think it looks so fun! So when my baby girl turned one and needed a 1st birthday shirt, I thought I'd try it out.

You know those foam fingers at sporting events? They say things like, "We're #1!" and are larger than life. How about a foam finger #1 birthday shirt? I had this idea in my head for a few months and was so excited about it. So, I did a little internet research on at home screen printing on the cheap, and got to work. I'm no expert, but I'll show you what I did and what I learned.

First you'll need:
  • old nylons, or other tight woven thin material (I read mention of using tulle. I started with that, but the fibers weren't tight enough, the gaps were too big and it was hard to get good definition. It looked pixelated. If you understand the way resolution works, it is the same concept.)
  • embroidery hoop
  • mod podge
  • fabric paint (I used acrylic paint and mixed it with a fabric painting medium)
  • paint brush/toothpicks
  • credit card or other object with a straight edge, it must be wider than your image

step 1: stretch the nylon tight over the embroidery hoop and secure it into place. 

step 2: You can do this next step two ways. You can print your image out in reverse and place the hoop on top of it with the nylon side up. (This is what I did.) Or, what I think would be easier, is to print your image out just like you want to see it and put the nylon side down so it is touching the paper and then trace the image onto the nylon with a pen or marker.


step 3: Using mod podge, paint any areas of the design that you don't want to be color when you screen print. For me it was the outline of the hand. Make sure you flip the hoop over so the nylon is not touching the paper (the image will be reverse), otherwise it will stick to the paper as the glue dries. 


I used a toothpick to paint the detailed areas and a foam brush to do the bigger outside areas.


step 4: Wait for the mod podge to dry. It will dry clear and harden.


step 5: Now your screen is ready to use! But first you need to mix together the acrylic paint and the fabric paint medium. Follow the instructions on the bottle. For me it was 2 parts paint to 1 part medium.


step 6: Now the real fun begins. Place your screen, nylon side down, on top of your fabric. Squeeze or pour a generous amount of paint in a line across the top of your image. Now, do as I say, not as I do. I took this picture on my very first attempt, and I didn't do it right. The paint should go all the way across your image and be enough that as you pull it down the screen you have enough to fill in the image. This is done in one step. Only pull the paint across the screen one time, so be sure that when you do it that your card is sliding over the whole image. Not like how I show it in the picture below.


I definitely recommend practicing. It took me a few tries to get the hang of how much paint and how much pressure to use.


When you are ready, make sure to remember what you learned, and don't go against your better judgment. Like I did. I said not to go over the image twice, but I did. When I printed on the actual shirt I was so nervous it wasn't going to come out right that I went over it a second time and put too much paint into the image and lost some detail. Darn it!


After the paint dried I went back over it with a toothpick and touched it up. I pulled out some white paint and mixed it with the fabric medium to add the details back into the image.

step 7: To heat set the paint, after it has dried, place a cloth over the image and press an iron to it for a few seconds.


This method of screen printing isn't perfect. But it was cheaper, and it worked for what I was using it for. I actually think it gives a pretty good distressed image, when you do it right and don't use too much paint. :)


Little one year olds don't care what their shirt looks like, plus they look cute no matter what they're wearing. That's the advantage of being a baby. Actually, in the end I'm pretty happy with how it turned out. It was a fun project and definitely something I'd give another try at.

Sunday, January 12, 2014

Sunbeams Lesson 1: I am a child of God

I am currently teaching the 3 year olds in primary at church. At first I was a little skeptical and not so excited about it. Turns out I really enjoy it. Of course. They are so fun and cute. And full of energy. Plus they are easy to teach and actually answer questions, even if they aren't sure what the answer is. How could you not enjoy being around people who are excited over what the color name of their crayon is? Like orchid or apricot. Or macaroni and cheese.

I team teach, meaning I teach every other Sunday. I like it that way. It can get to be a bit much to teach every Sunday. I did that with the 12-13 year olds. Never a break. Anyway... I taught the first Sunday of the year. The first lesson in the manual is the most simple, yet the most profound lesson. I am a child of God. This simple understanding is one of the greatest principles of the gospel. We are children of a Heavenly Father. We are created in his image and have every potential to be just like him, as we have the same potential to grow to be just like our earthly parents. I love this.

As a child in primary long ago, I remember receiving a small circle with the phrase I am a child of God written in it. It hung on my bulletin board even until I was a teenager. I may actually still have it preserved in a box with other special items from my growing up. In preparation for this lesson I decided to make something similar for my class.
    
For my class I typed in each child's name so it was personalized for each of them. I know they don't read yet, but the first word kids learn to recognize is their name. And they love to see it written. I also wanted to personalize it for each of them, so hopefully they might begin to internalize the idea that they truly are a child of God.

I printed the circles out on cardstock and cut them out ahead of class. I brought tape with me and put it on the back so it could be stuck to the child's shirt.

I like to give the kids some sort of handout to take home with them that relates to the lesson. Mostly this is so the parents know what we talked about, so they can reinforce it at home if they'd like. My daughter is 4 and I can hardly ever get an answer out of her when I ask her what her lesson was about. Usually her response is the very broad answer of Jesus.

At the end of class I had a coloring page for the kids to color and take home as well. Coloring in sunbeams is a requirement, isn't it? :)
The coloring page is actually one from the nursery manual, I just revamped it a little bit. You can find the original from lds.org here.

After putting in the effort, I thought, why not share it? Click the images above or the link below to download the PDF files.

i am a child of God circles
i am a child of coloring page

-------------------------------------------------------------------------------------

I realize it has been about 7 months since I last posted. I haven't abandoned this blog. Promise! I have more to come. :)

Friday, May 24, 2013

Pinterest Inspiration

In high school I loved interior design. Loved it. I actually wanted to go to college and study interior design. I painted bright colored stripes on the walls of my room, which coordinated with the quilt on my bed. I made a few picture displays for my room, and always dreamt of doing more. I loved watching Trading Spaces on TLC, looking for new inspiration.

Then I moved away from home and went off to college. I took an introductory class in Interior Design and decided I liked it more as a hobby, and wasn't so interested in studying. I think the problem there was that the class was all about memorizing furniture styles and time periods, names of pieces, and their designers. It was lame. I took a 160 question test in 20 minutes and got 100% on it- all because it was straight memorization. I wasn't inspired to learn more.

In college I slowly moved away from design. I moved every year, I always rented, and I really didn't have the time or money to spend a lot of focus on sprucing up my space. 

After college, I married Kyle. It was still the same story, no money, no time, and always a rental= no desire to decorate.

Now that we own a house and have been here for almost a year, I'm finally growing tired of the bare walls, and boring furniture. I'm ready to decorate! But I've lost all inspiration and drive.

Today I sidetracked myself slightly by browsing through a couple of my own Pinterest boards, searching for inspiration. Here is some of what has me inspired: (click on the image to follow the link)


Thursday, May 16, 2013

a wedding and a baby

I just love weddings. Love. Love. Love!

Really, if you've known me for a while, like before I ever got married, that statement could possibly surprise you. What would be even more surprising would be me saying that I love babies. I've been known to say that I don't do babies. And I really don't. Just my own. But I love, love, love my own babies.


But really, I love weddings. I think they are just so happy and so fun. I always want to get re-married, to my same husband, of course. I just remember how fun my own wedding day was. I was completely unaware of anything going on around me, besides my getting married. My cheeks burned from smiling. It was a fantastic day. Seriously, like the best! 

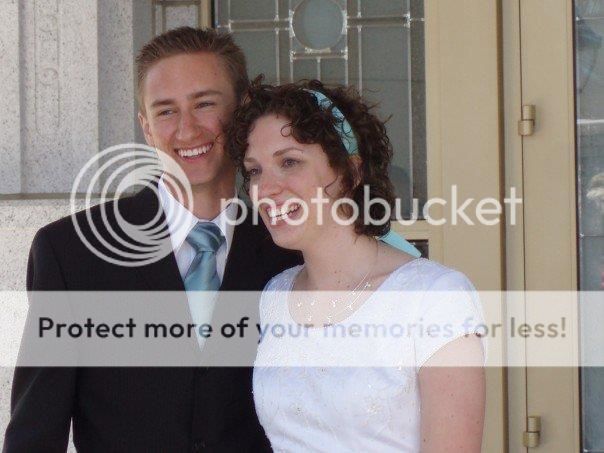
Kyle and I, six years ago!

When I learned that my sister-in-law, Chelsie, was engaged I was ecstatic!  Not just because I was super happy for her, because she was happy, but also because that meant I was going to get to go to a wedding, and be a part of it- all of it.


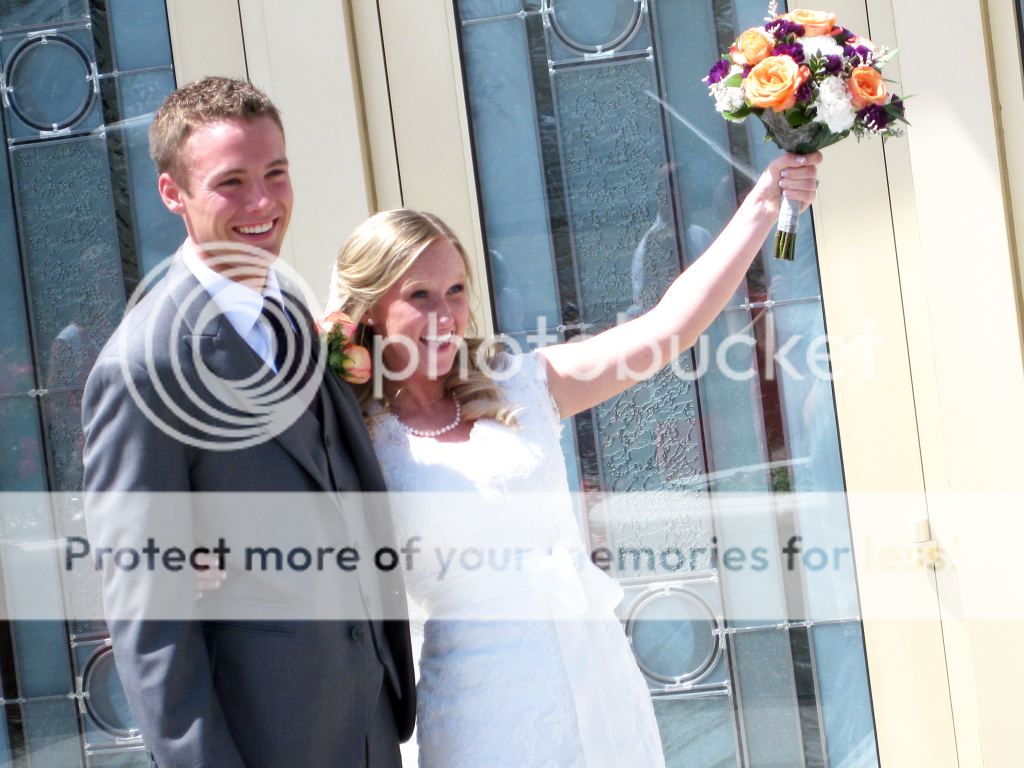
The new couple- aren't they so cute?

Kyle is an industrial designer by profession. I worked for many years, like 7, in copying and printing at BYU, and loved it. Our assignment: to design and print the wedding announcements. Alright!

I started playing around on the computer with some design ideas. Kyle came in, took pieces of them, refined it, and made it look awesome.


We were going for something simple and clean, without being boring. Mission accomplished, in my opinion.  We had the announcements printed with BYU Print Services, and they did a great job. The colors and the print looked great. Everyone was happy.
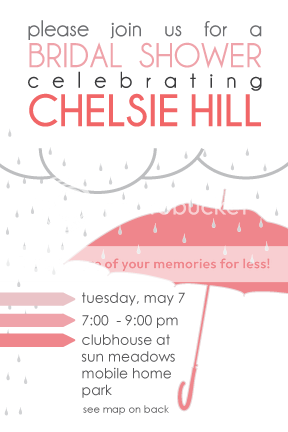
I spent all of last week back home in Washington visiting family and friends, and wedding prepping and partying it up. Included in that was a bridal shower, my other sister-in-law, Brittany, and I threw for bride Chelsie. This is the bridal shower invitation I designed.
The bridal shower turned out really well, and I think everyone enjoyed themselves. I meant to take pictures of it, but I really was too busy getting everything put together to worry about that. It wasn't anything fancy, but there were a lot of people there who love Chelsie, and that is what mattered most.
While I'm sharing, here is the birth announcement I made of our newest daughter, Keira.
I know the color is light and difficult to read on screen, but it printed darker at Costco. I'm still pretty pleased with how it turned out.

Thursday, May 2, 2013

I’m Still Here!

Gah! I didn’t post once in April. Not once! Shame on me.

April was a productive month for us, I’m just not completely ready to share all of the details yet. But, here’s a sneak peak at some of what we’ve been up to.

Stay tuned.

P.S. I really can’t decide on a color scheme for this blog. Any suggestions? 

Friday, March 29, 2013

Hey, You! Follow Along with Me, Ok?

How do you follow your favorite blogs? If you use Google Reader, then I’m sure you’ve already had the news broken to you that Google Reader is going away as of July 1. Sad, sad day.

If you aren’t sure what Google Reader is, that’s ok. Basically, it’s a place to store subscriptions to blogs and websites where you can keep up with the new things being posted. I love it because I’m able to read all of my favorite blogs by going to just one place, instead of having to bookmark them and visit to see if there are any new posts up. Google Reader automatically shows me which blogs have new posts, and I can view those posts directly in Google Reader. It is fantastic.

In place of Google Reader, I’ve switched over to Bloglovin’. Bloglovin’ does pretty much the same thing as Google Reader.

bloglovin'

So far I’m pretty happy with it. It does what I want it to- it lets me keep my blogs all in one place for easy reading.

If you have a bloglovin’ account, I’ve added this blog on there. Click the button below to follow along with me!

Follow on Bloglovin

While we’re at it, if you’re on Pinterest, I hang out there as well.

bloglovin'

I love Pinterest. It was just what I needed. Anyone else have bookmark folders that look like this:

bookmark bar

Where, if you go up or down on that list, the bookmarks go on and on and on…? Pinterest has been fantastic. Instead of adding another bookmark to get lost and sucked away to the deep abyss of my incredibly long list of links, I can add it to my Pinterest account. There I can visually see what the link is, and I can add different boards to organize and categorize my pins, so I can easily find them again. So. Great. Plus what I pinned is shared with my friends, and I can see and repin things my friends have pinned, giving me added exposure to great ideas I may not have seen otherwise.

So, if you’re on Pinterest, click the link below to follow along with me, and see what interests me! 

Related Posts Plugin for WordPress, Blogger...